Spin Fin Dart Construction
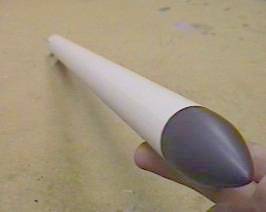
This is how I make my latest and greatest, long range projectiles. They are made from 24" of 1" thin wall pipe, fins, and a nose cone. The fins are cut from 0.030" Lexan and measure 1.5 x 2.5 inches. The nose cone is made from a solid PVC rod, turned on a lathe. I am trying to find a way to mold nose cones, but am not there yet. Here is the construction process.
1. Prepare the pipe
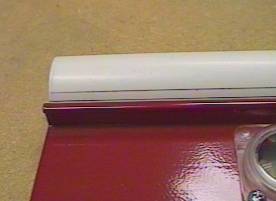
Cut a 24" length of 1" thin wall PVC pipe and square up the ends by filing or grinding.
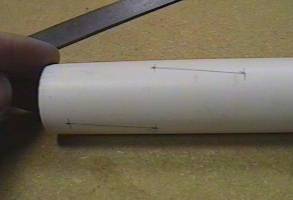
At one end of the pipe make two lines, running in the direction of the length of the pipe. Make the lines about 6" long, parallel, and about 1/8" apart (no less). You want it to look like this.
Make a paper tube that fits around the pipe tight, but not so tight you can't move it. I made mine out of a piece of poster board. It is about 1" long. Before you tape the paper into a tube you must mark it at one edge. You want 4 marks exactly (as close as you can) the same distance apart. These marks will be used to mark the pipe so take your time and do it right. You may have to set down and figure out how the best way to do this. I first cut the tube and then used dividers to figure out the 4 points.
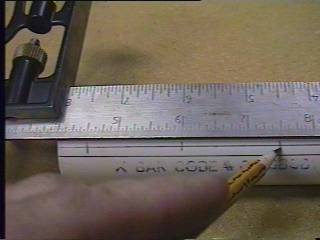
On one of the parallel lines (let's use the left one) make 3 marks, 0.5, 2.0, and 3.5 inches from the end of the pipe, like this. These mark the back of the first fin, the front of the first fin (and the back of the second fin), and the front of the second fin. That may not make sense right now, but the front of the first fin and the back of the second fin are in the same place, almost.
Slide the paper tube on the pipe with the 4 marks to the rear. Line one mark, on the tube, up with the left line on the pipe. Mark the 4 points on the tube, 1,2,3 and 4. Start at the mark that is on the line and go to the left (counterclockwise). These numbers will make it easier for the instructions to make sense. Now slide the tube to line up with the 0.5 inch mark on the left line. The 0.5" mark on the line is the rear of the first fin. This mark is on mark #1 of the tube. Mark the pipe on mark #3 on the opposite side of the pipe.
Slide the tube down to the 2.0 inch line. Turn mark #1 on the tube to line up with the right line on the pipe. Mark the pipe at mark #1 and #3. This is the front of the first fin.
Turn the tube back to where mark #1 lines up with the left line, on the pipe, again at the 2.0 inch position. You may want to push it forward of the 2.0 inch position just a little (1/16") to give you some space between the fins. Mark the pipe at position #2 and #4.
Move the tube forward to the 3.5" position. Turn the #1 mark to line up with the line on the right. Mark the pipe at position #2 and #4.
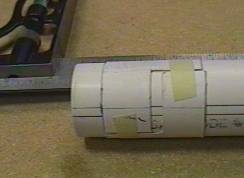
Remove the paper tube
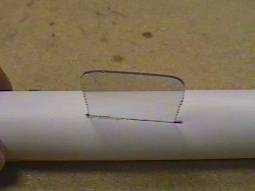
Mark lines from point to point, like this.
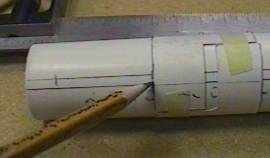
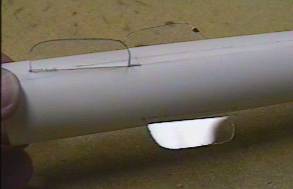
Now you must cut slots where the slanted lines are. I use a Dremel tool with a heavy duty cut off wheel. It takes a steady hand but if it is not perfect it still works fine. You can use a hacksaw blade to finish out the ends of the slots if required. Stick the fin through the first side, reach up the back of the pipe with some long pliers, and twist the fin a little to hit the slot in the other side. Do the same for both fins.
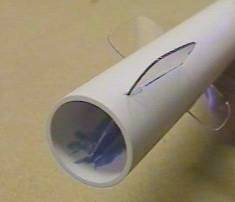
Reach up the back of the pipe and put a little PVC cement on the fins, where they go through the slots. This will keep them from moving or falling out.
Once finished I mount one of my solid PVC nose cones on it. Ready to fire.
This is my second and best finned design, so far. They fly further than my first design, which went 1100+ yards from Carl's Howie gun at 100 PSI. I have yet to find how far my Big Red gun will shoot them but 900 yards at 50 PSI has been done on a regular basis.